Remember to use light pencil lines, so it won't show up in the final design, or a non-repro blue pencil.
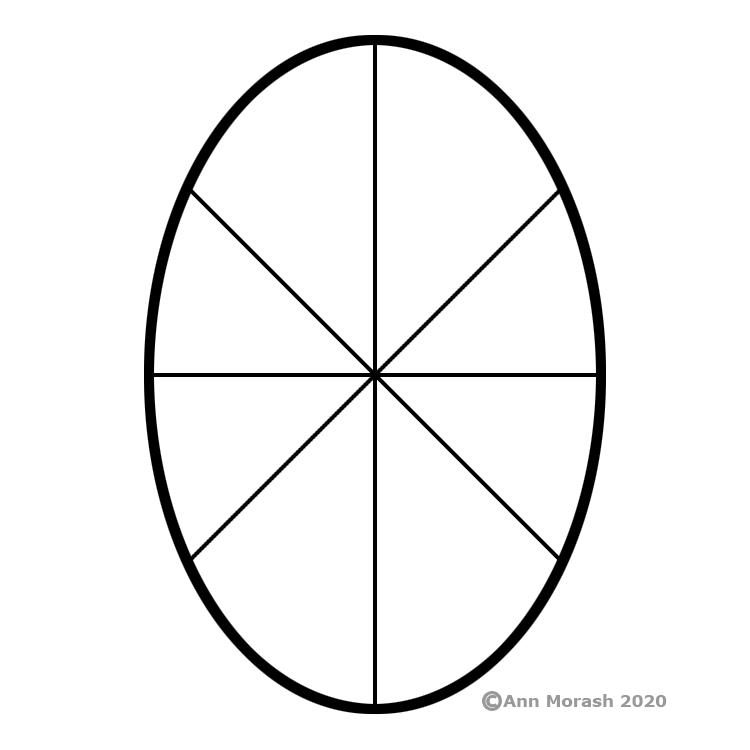
Front (1): Divide the egg into sixteenths.
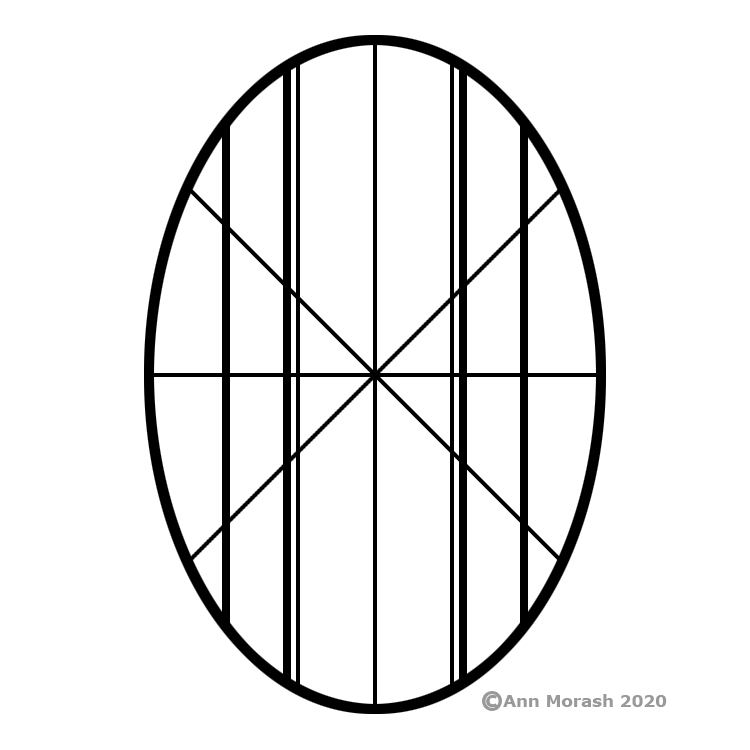
Front (2): Draw the parallel lines. They do not have to be this thick, this is just so you can see how it should be spaced out.
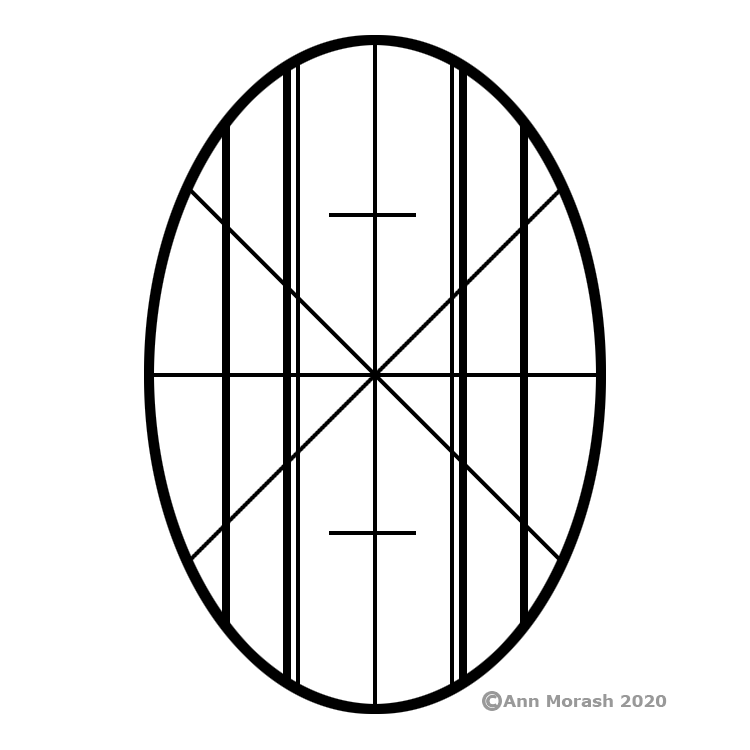
Front (3): Using the diagonal line to assist in positioning, divide the main band into 8 equal pieces.
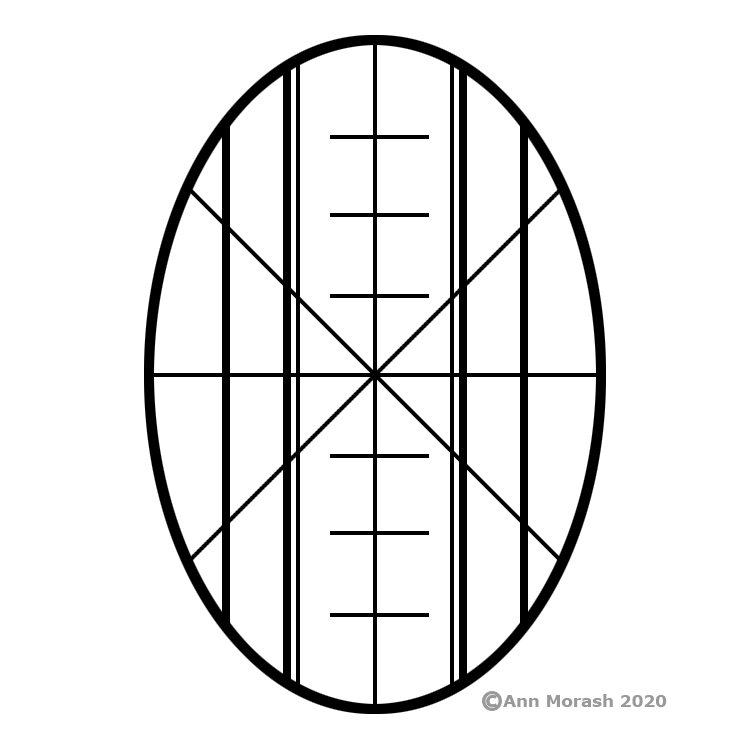
Front (4): Divide each of those sections in half, so you have 16 equal sized pieces.

Front (5): Using these guides, add in your double line divisions.
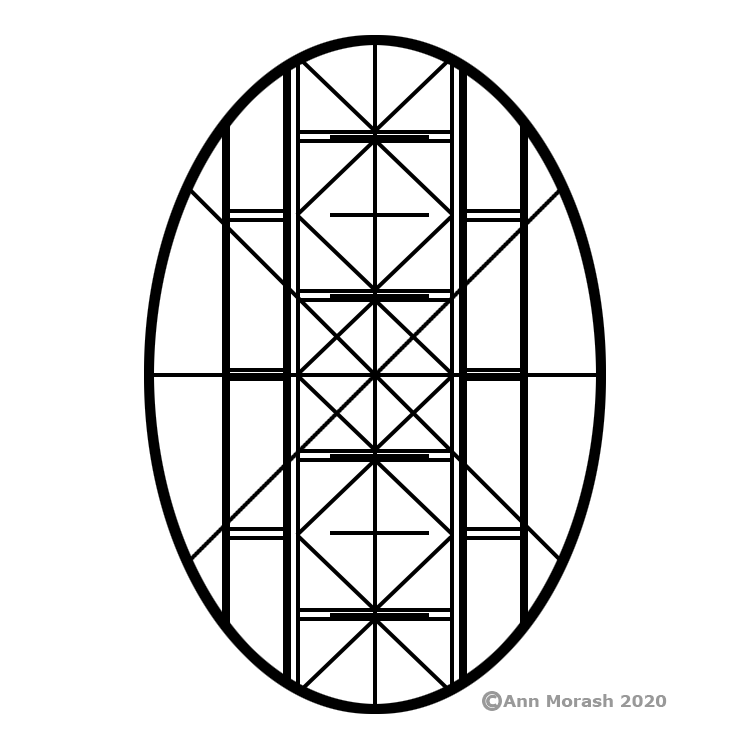
Front (6): Again using the division guidelines, draw in your diamond shapes.
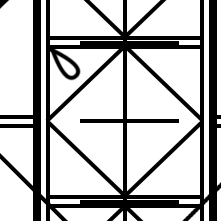
Front (7): Time to add the teardrop shapes. I am only showing them in one segment to try and keep the image cleaner, but you will be adding them in every corner of every diamond. Start in one corner and draw a teardrop.
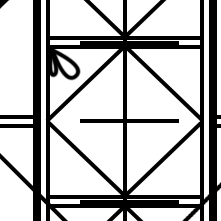
Front (8): Now draw your second teardrop as shown.
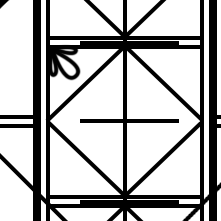
Front (9): And finally, add the third teardrop shape.
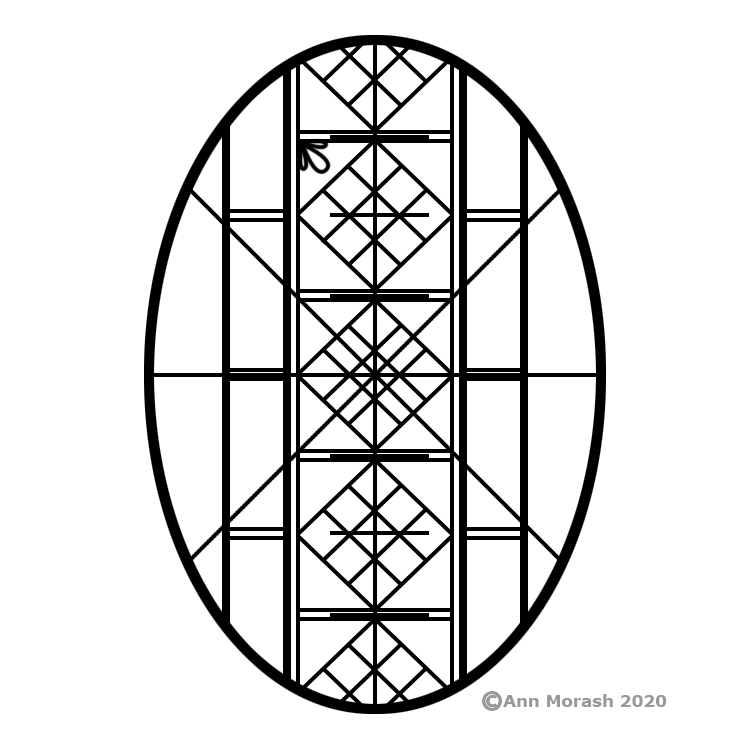
Front (10): Add your diagonal shaped divisions. You'll be alternating details in each diamond but this shape is the same in all of them.
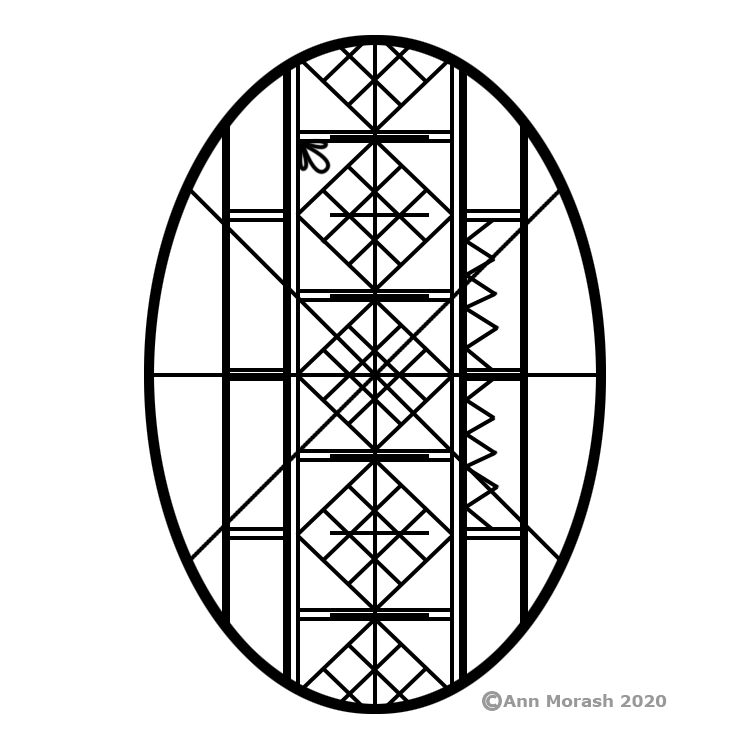
Front (11): Add the bigger of the two jagged lines down the outer border. Try to make it so the ends line up with the next segment, it looks neater.